> For the complete documentation index, see [llms.txt](https://docs.tresori.xyz/llms.txt). Markdown versions of documentation pages are available by appending `.md` to page URLs; this page is available as [Markdown](https://docs.tresori.xyz/getting-started/user-onboarding.md).
# User Onboarding
## Option-1: If user Don't have Account on Kalp Studio Ecosystem
**Step-1:** Click on
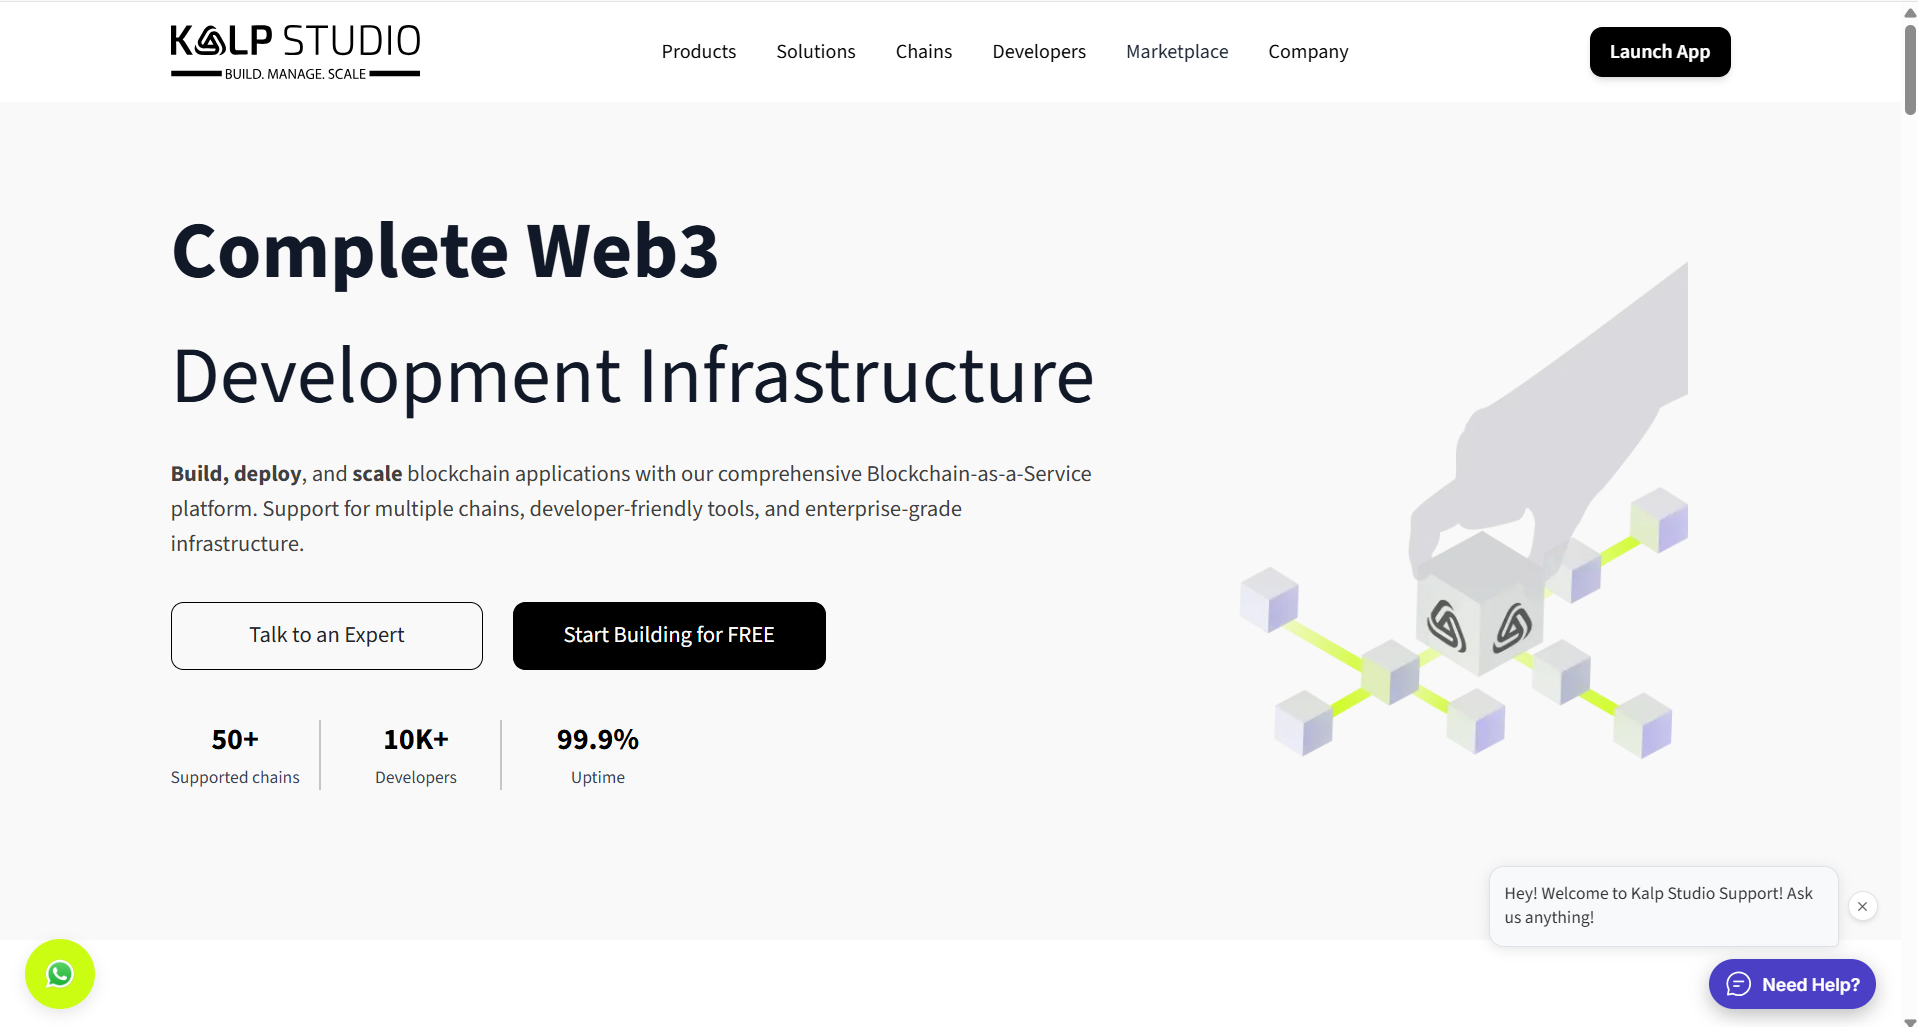
When users access the URL, they are automatically redirected to the Kalp Studio ecosystem landing page, as shown in the image below.
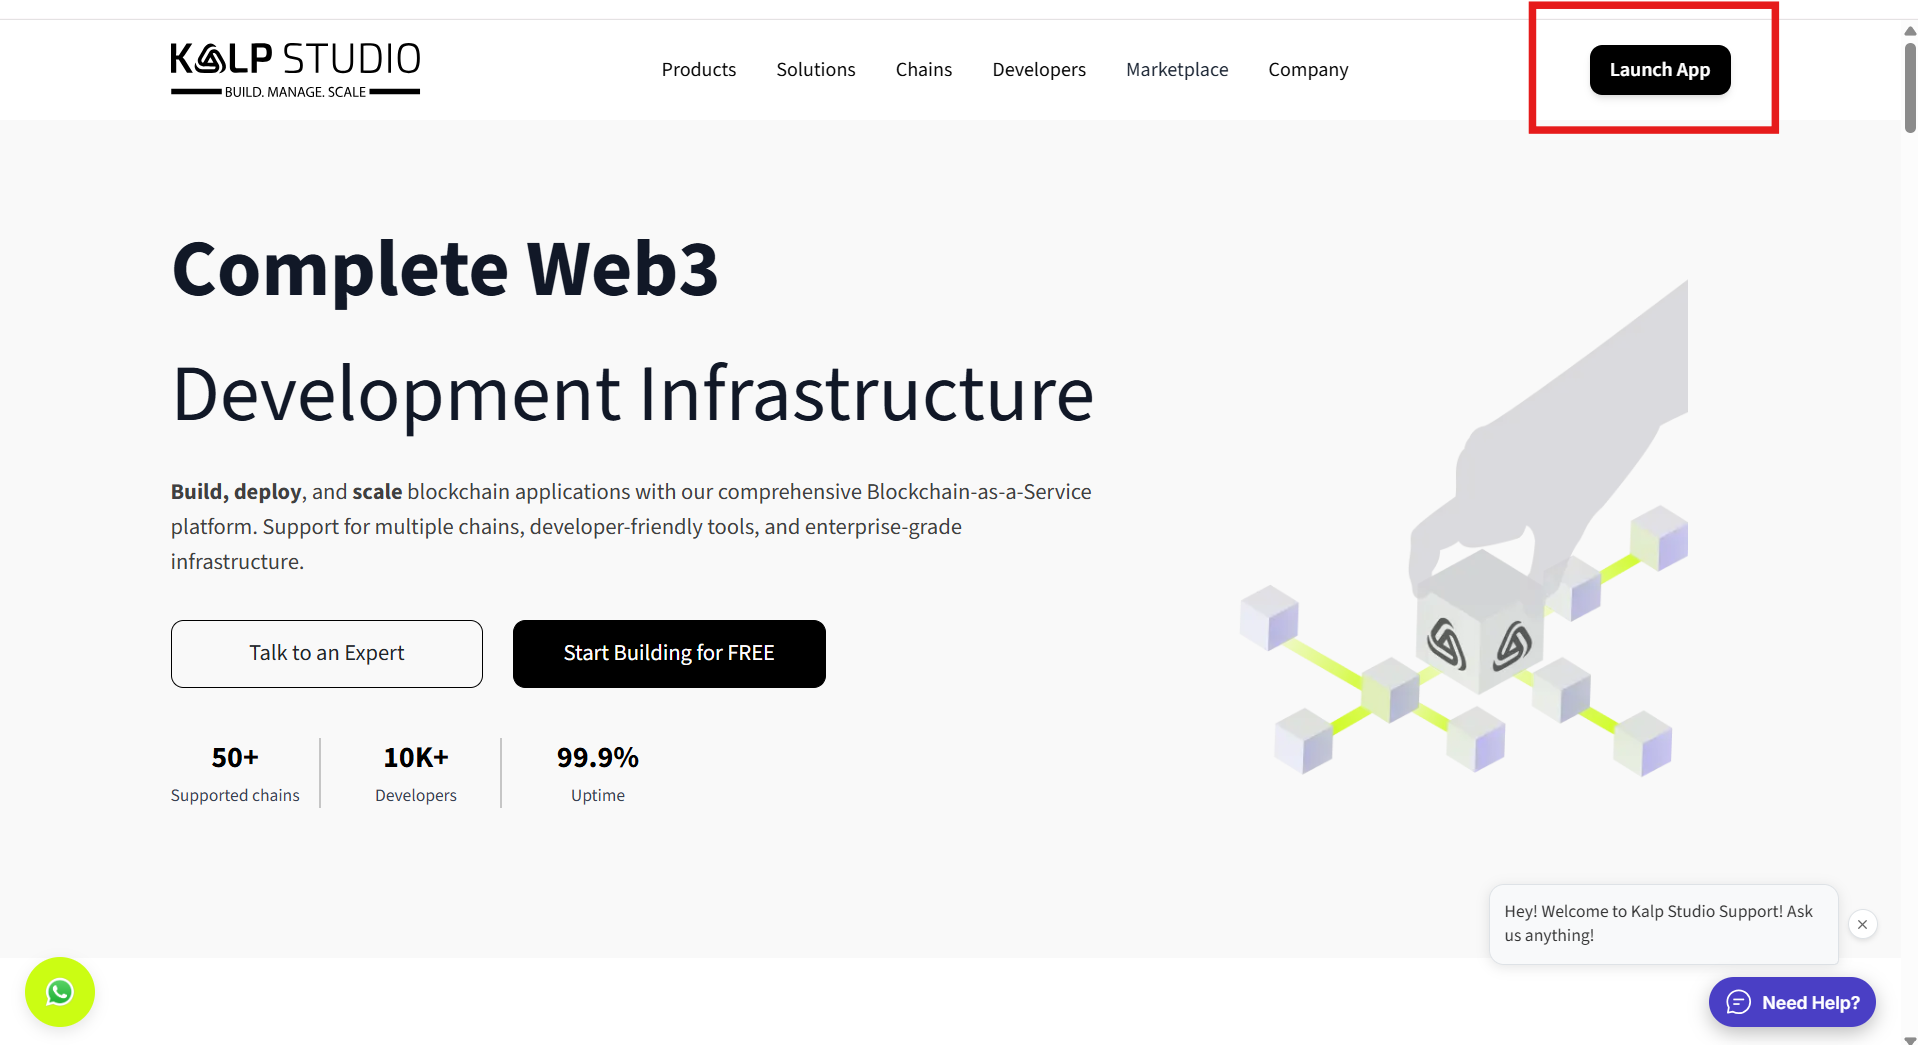
**Step-2:** Click on the **“Launch App”** button located in the top-right corner of the landing page.\
Once the user clicks this button, they are redirected to the Login / Sign-Up page, where they can authenticate or create a new account.
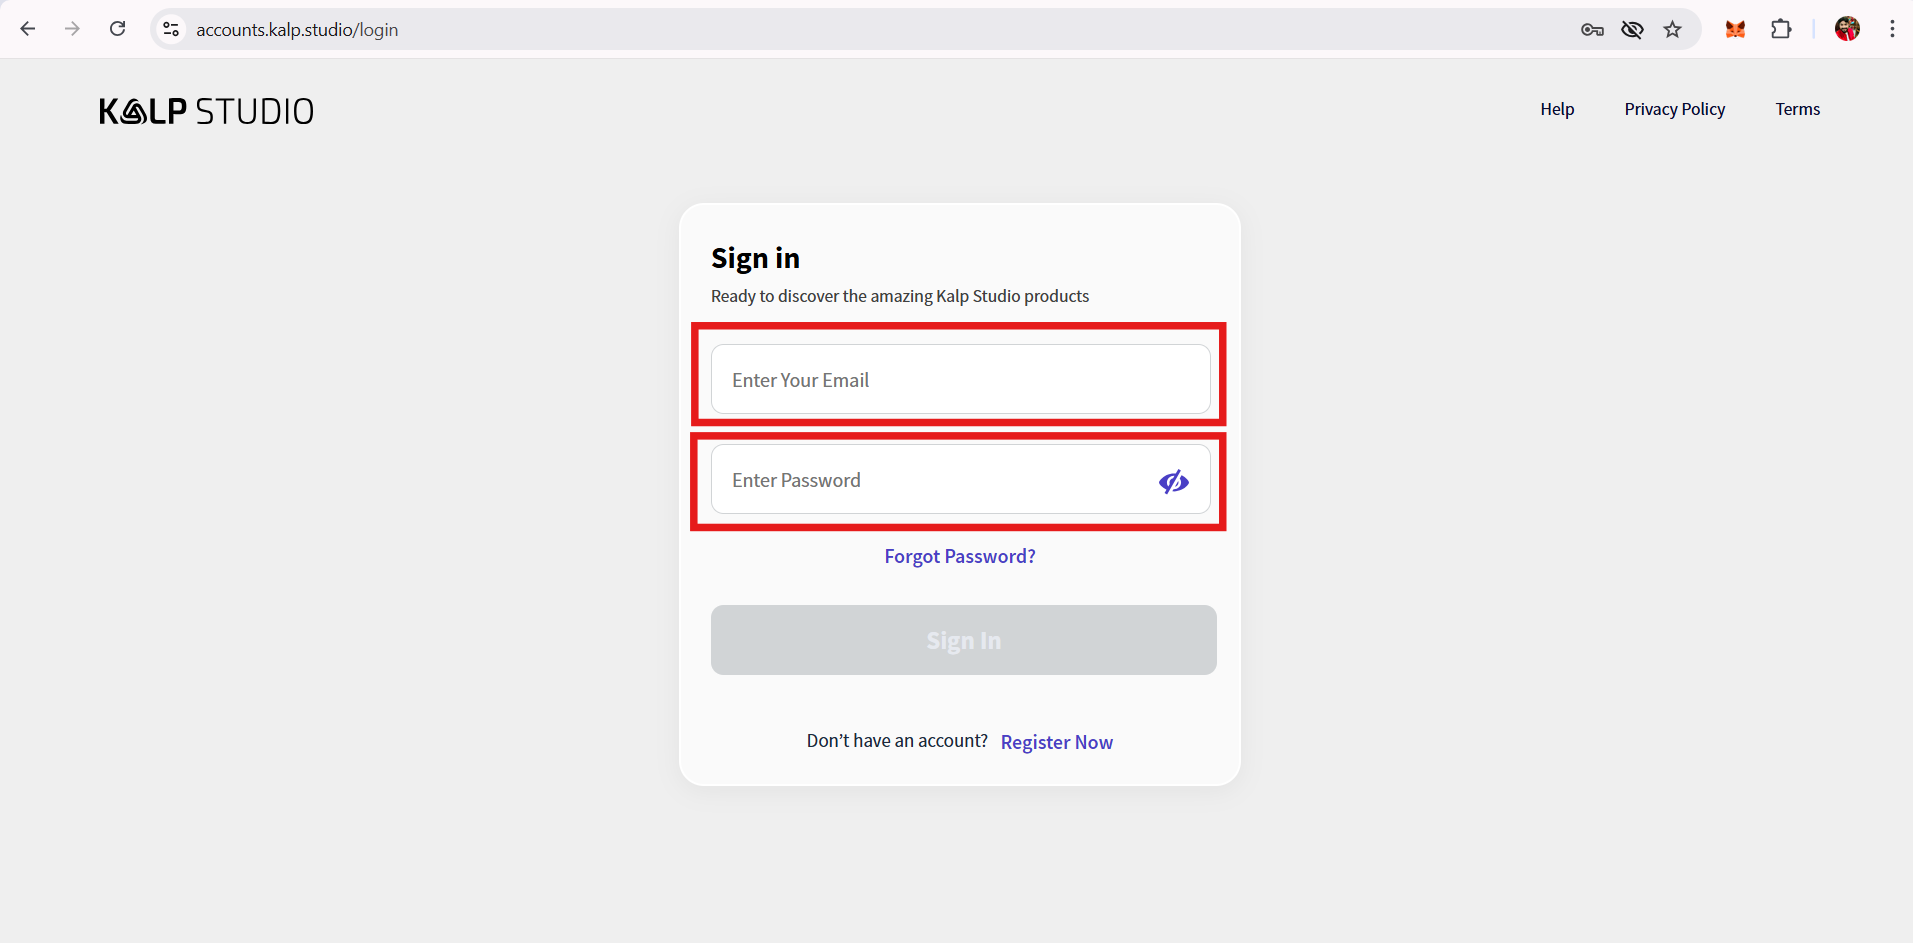
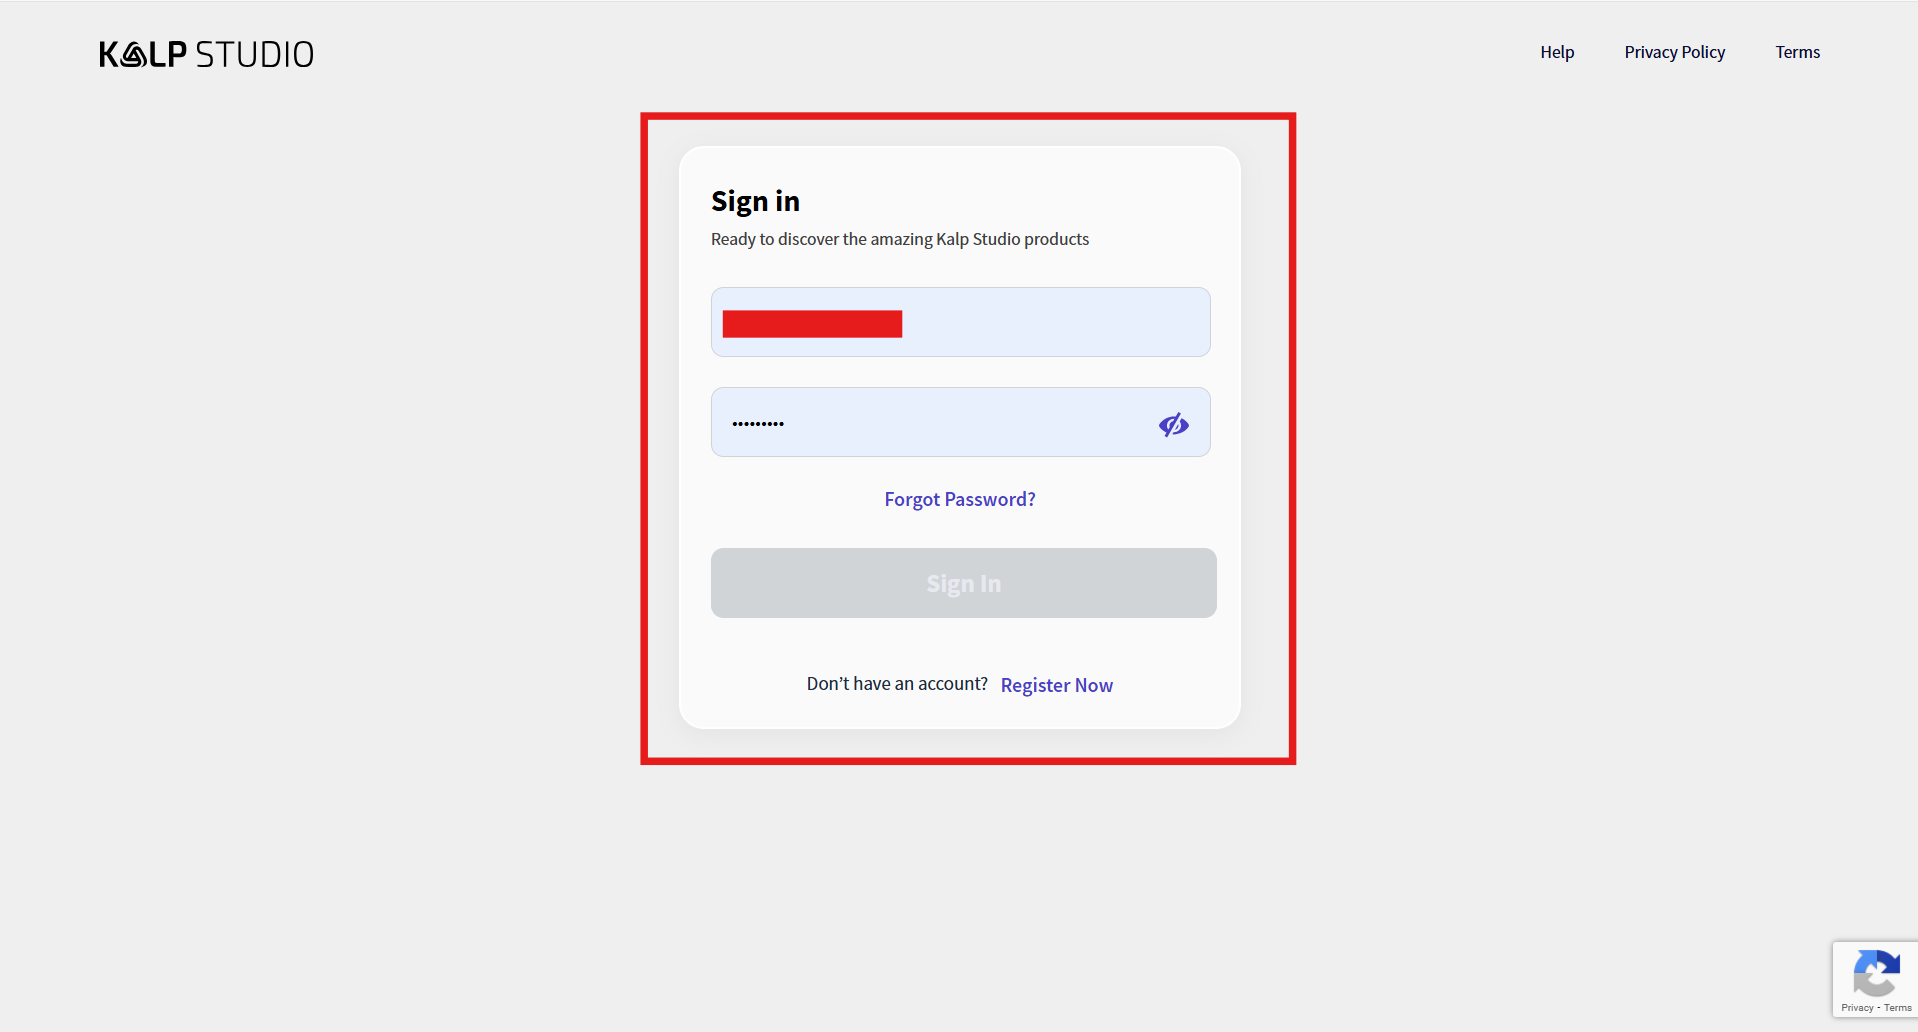
**Step-3:** Once the user clicks the button, they are redirected to the Login / Sign-Up page, where they must enter the registered email address and password provided during the sign-up process.
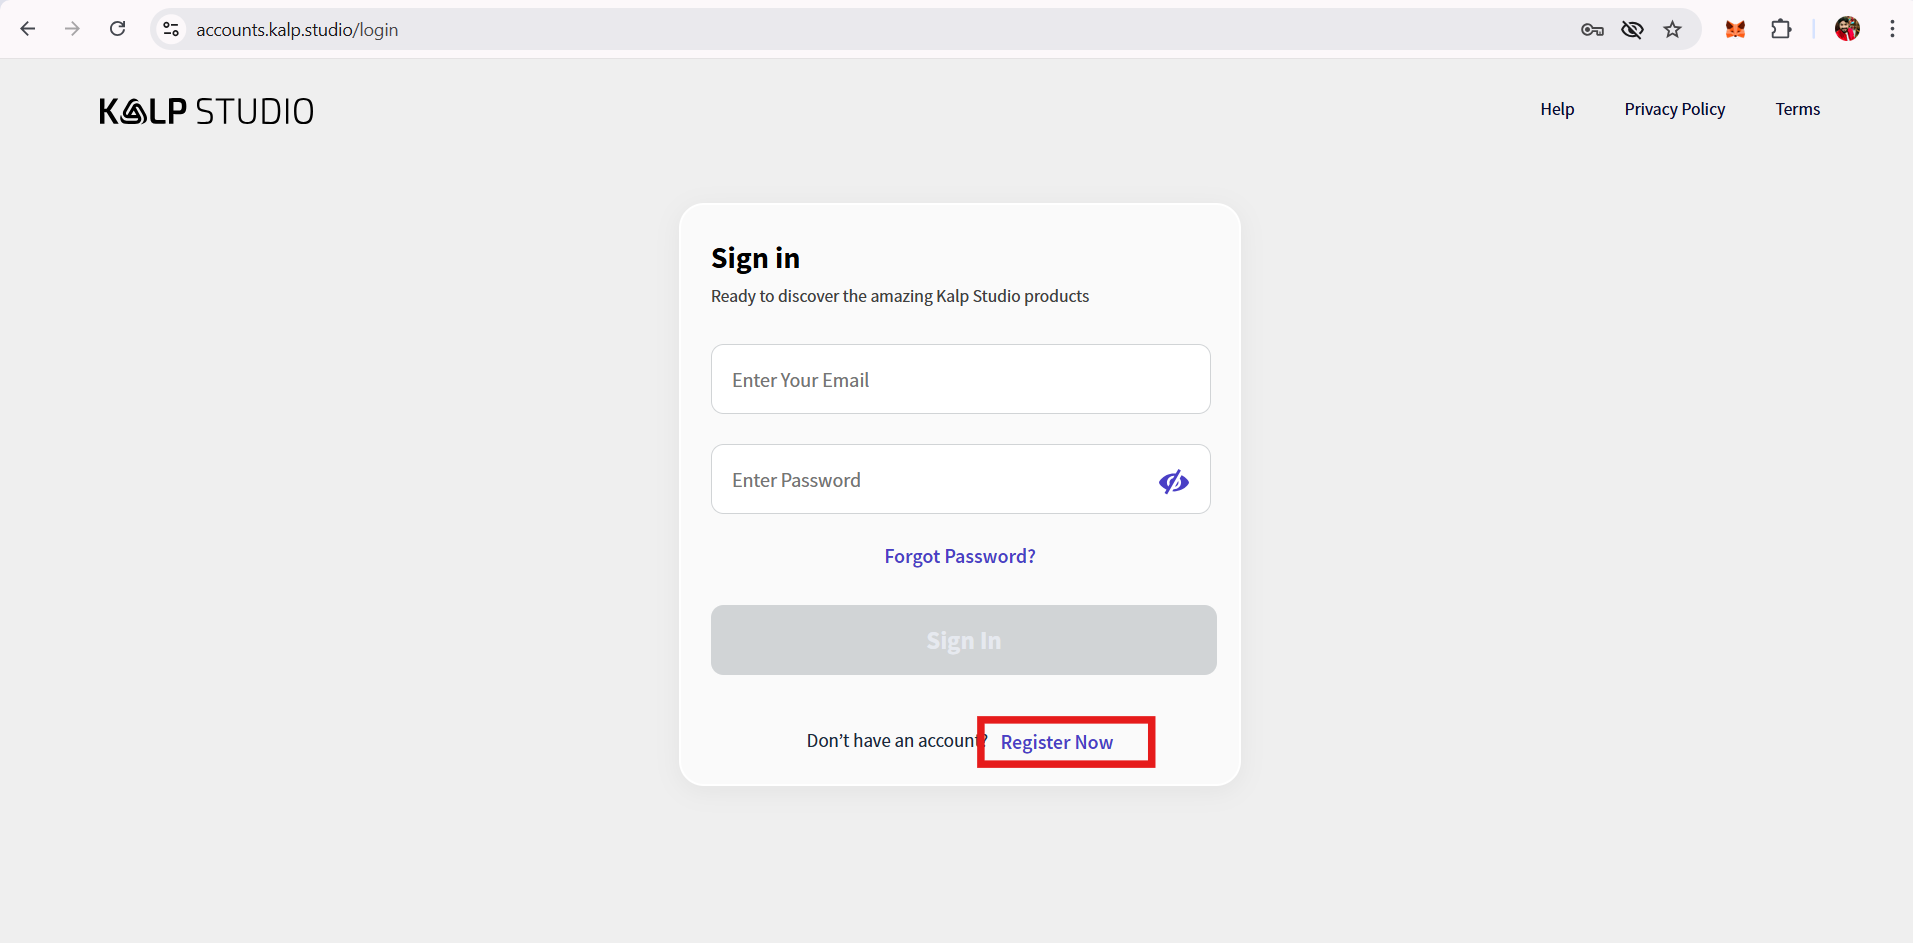
**Step-4:** If the user does not have an account, click on **“Register Now”** to create a new login ID.
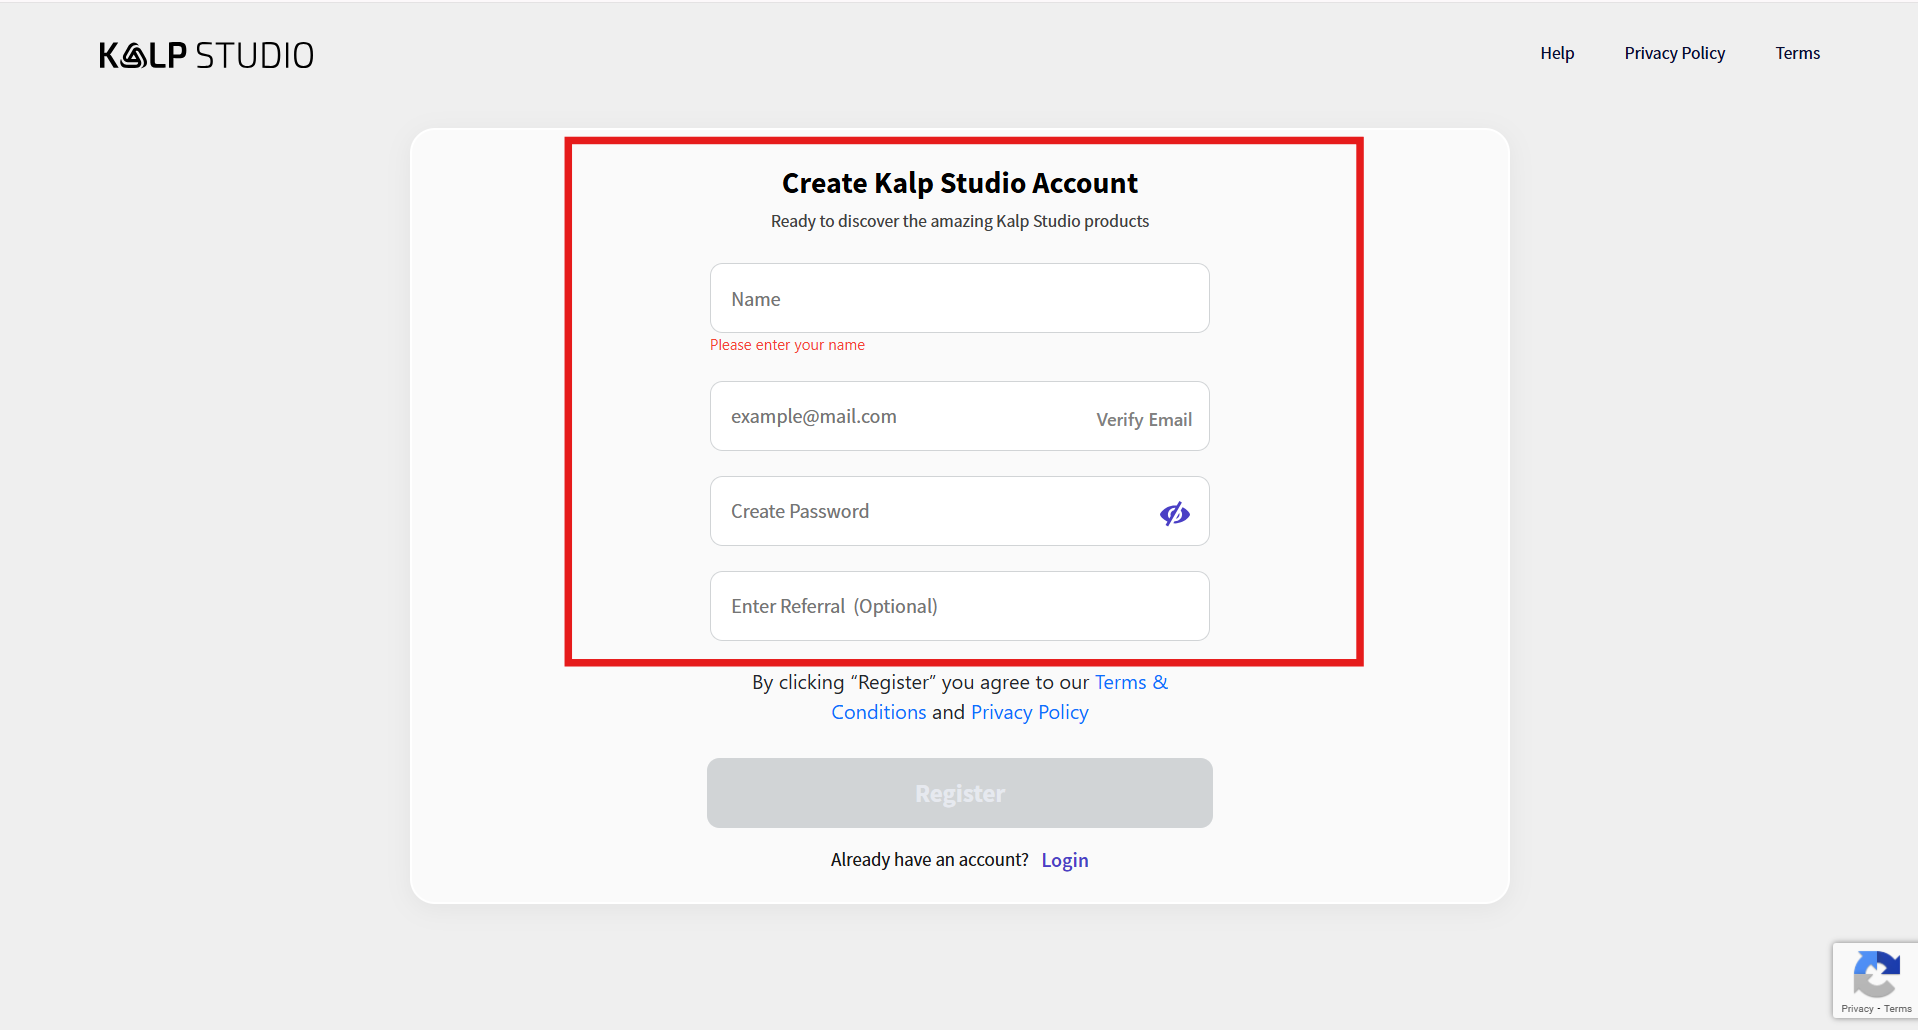
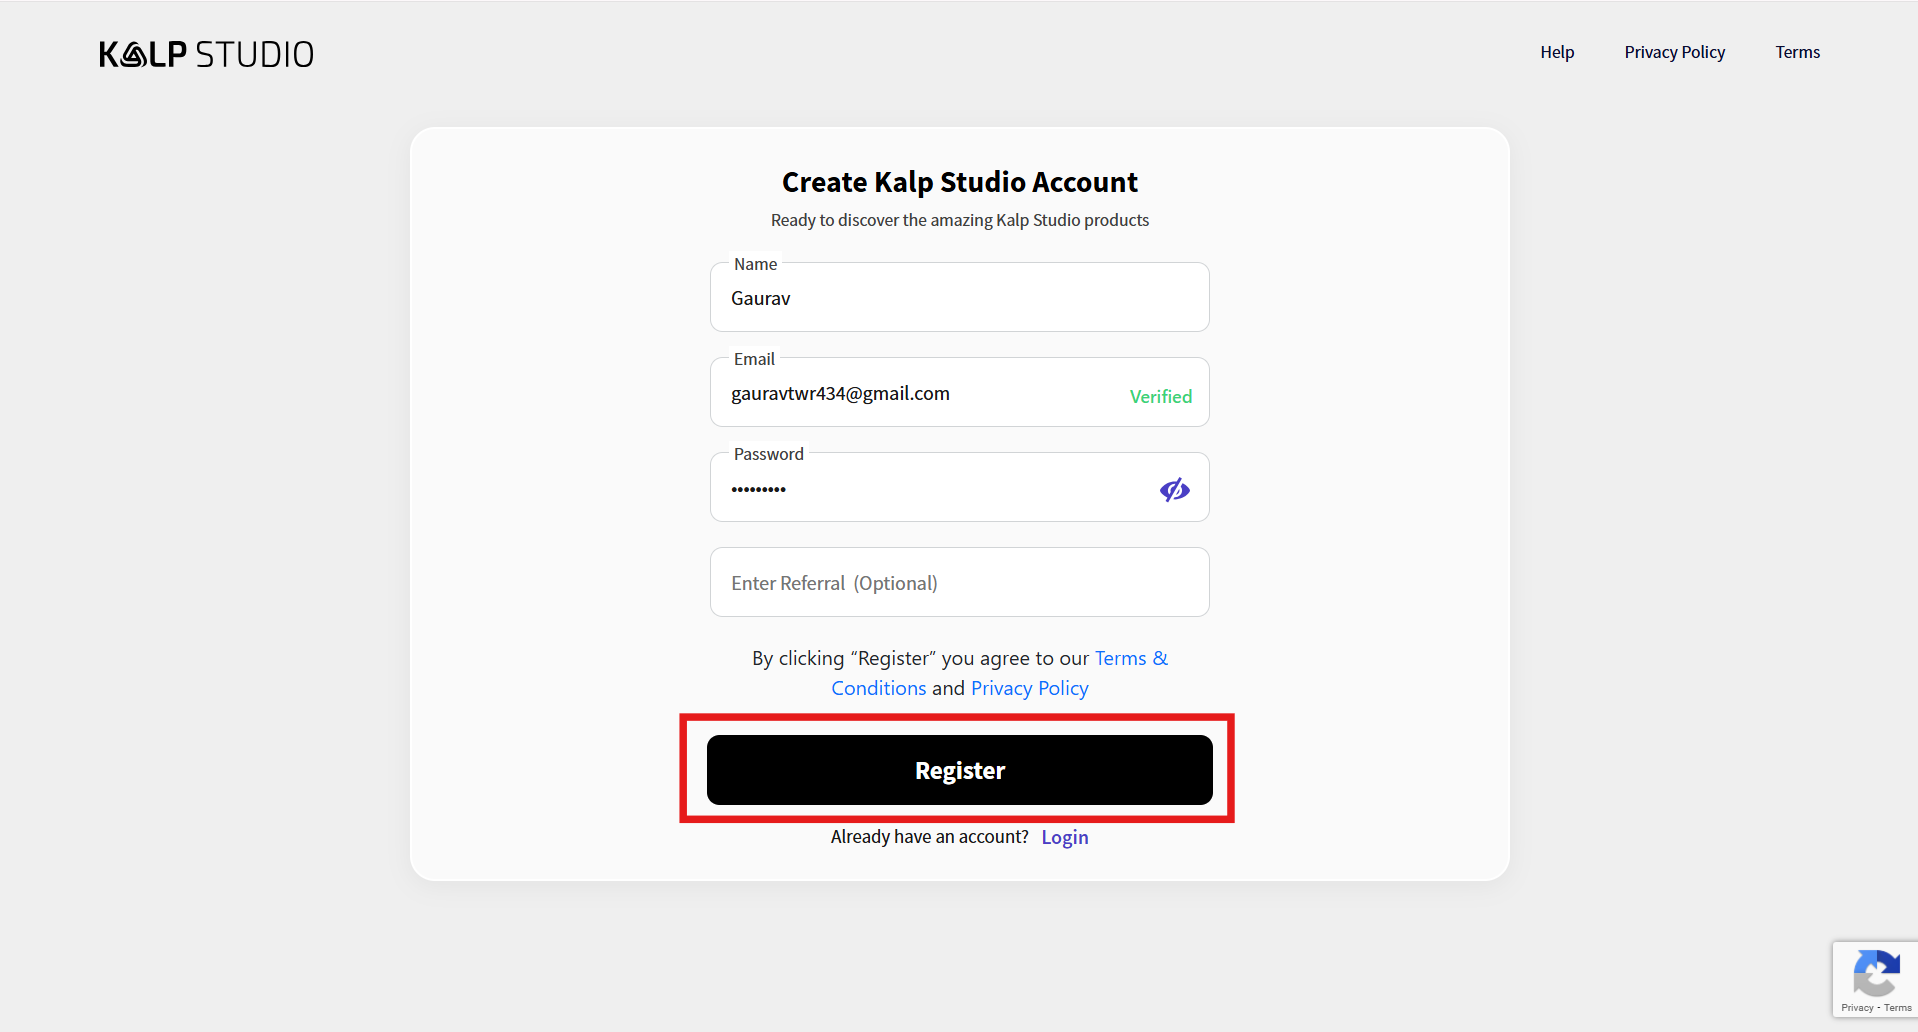
The **Create Kalp Studio Account** page allows new users to register and gain access to the Kalp Studio ecosystem. Users must complete all mandatory fields to successfully create an account.
**Step-5:** Once the user clicks on **“Register Now”**, they are redirected to the Kalp Studio platform registration page, where they are required to provide basic details to create an account.
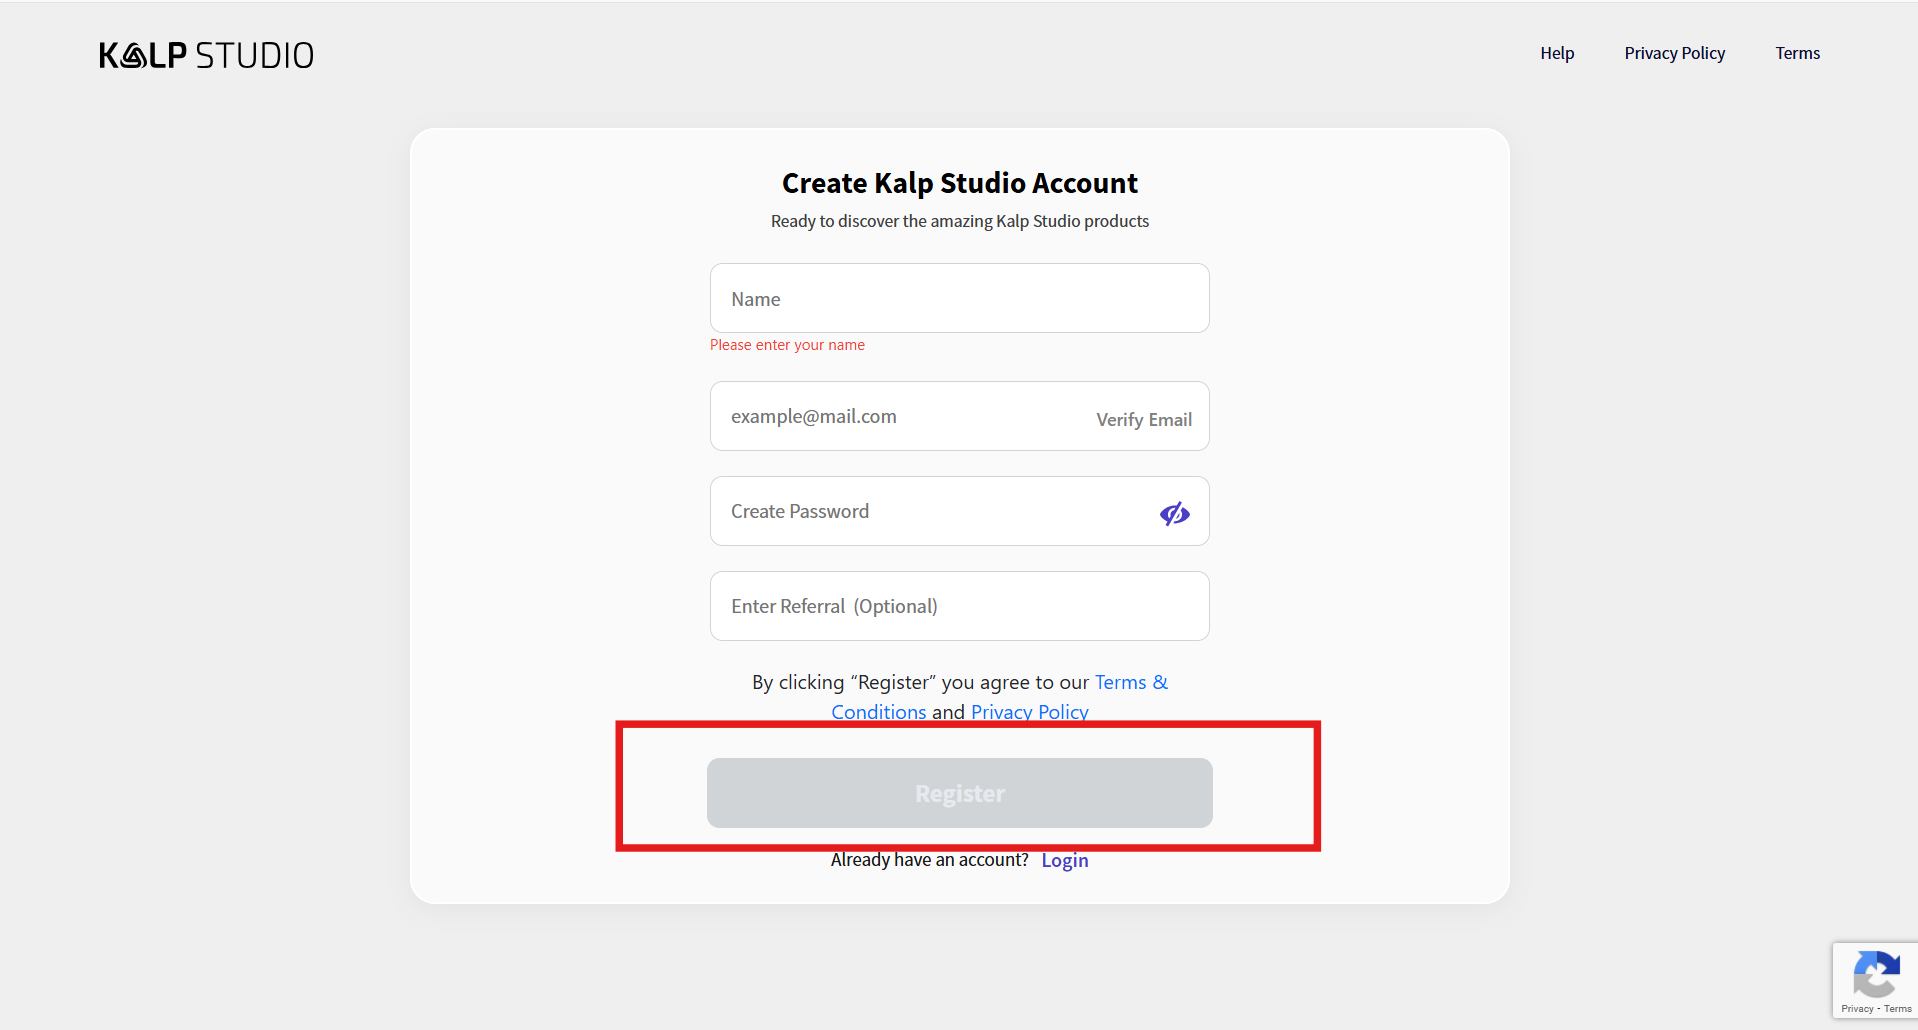
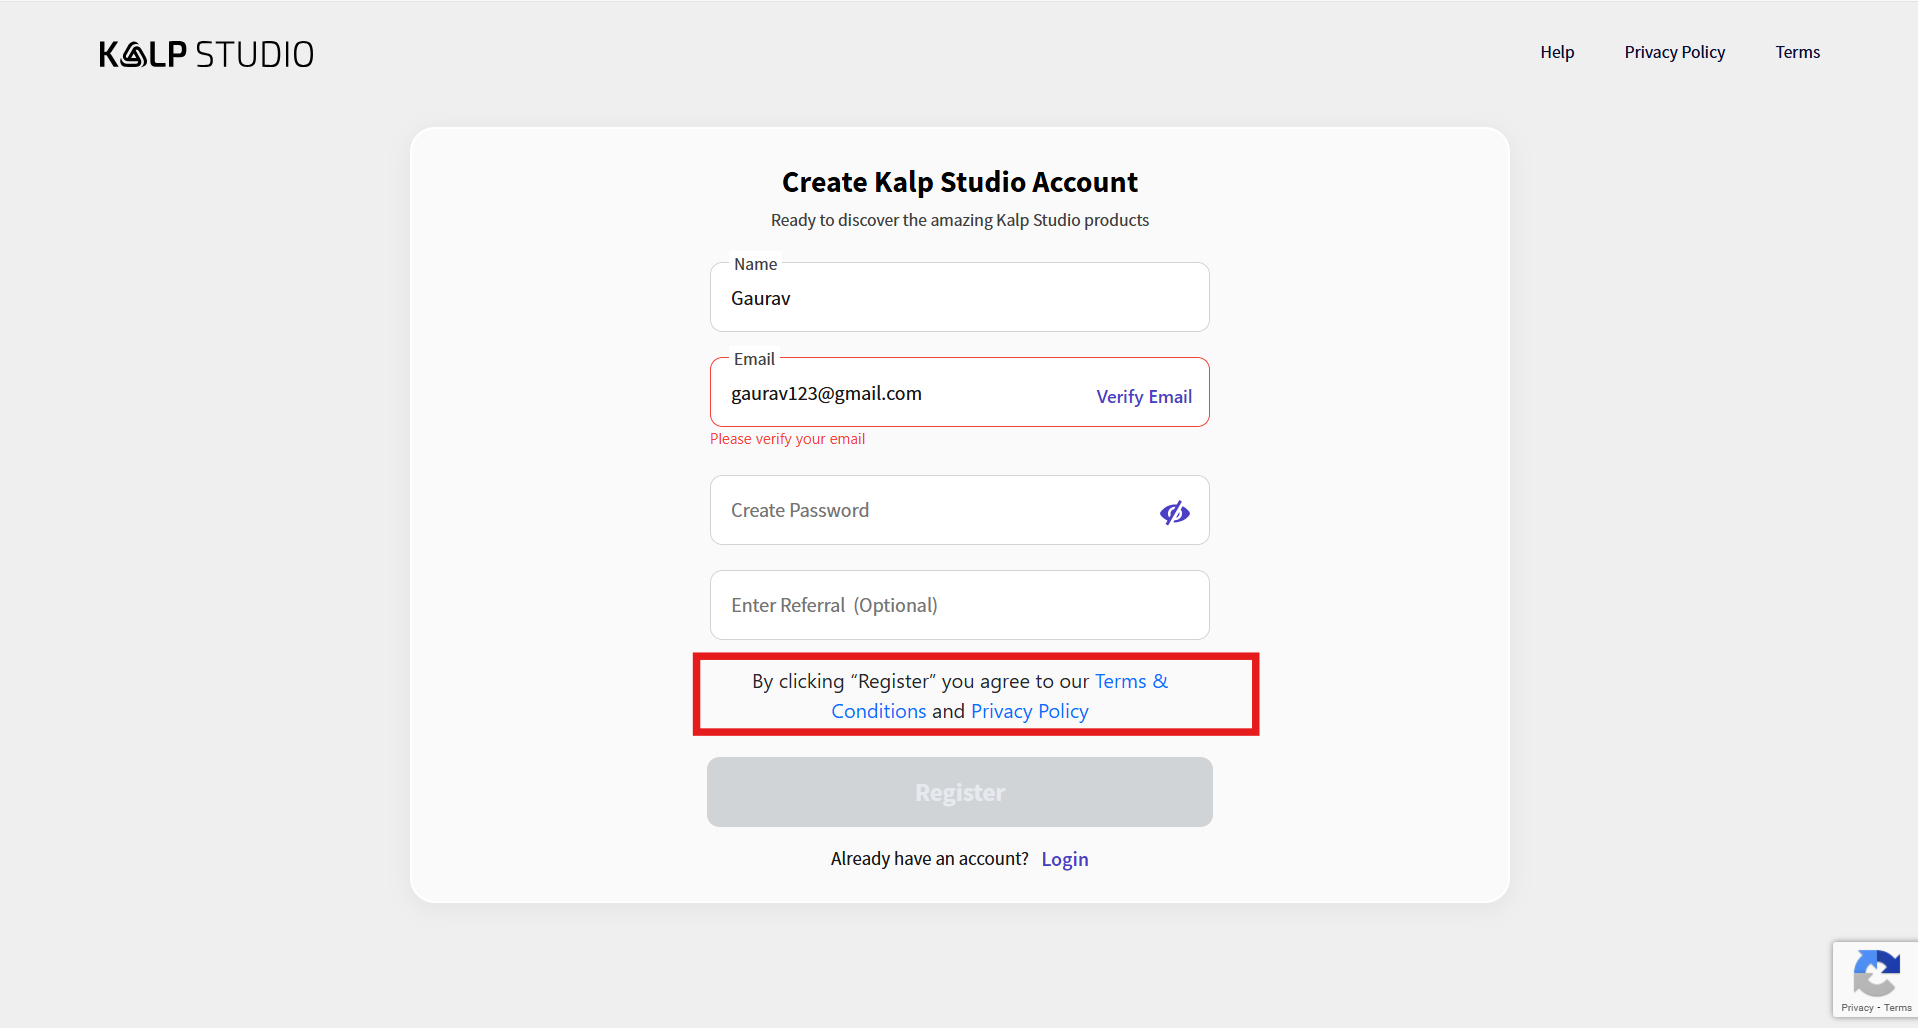
> The “Register” button remains disabled until the user completes all mandatory steps required for account registration as shown in the image below.
#### Registration Fields
* **Name**\
Users must enter their full name as it will be associated with their Kalp Studio account.
* **Email Address**\
Users are required to provide a valid email address.
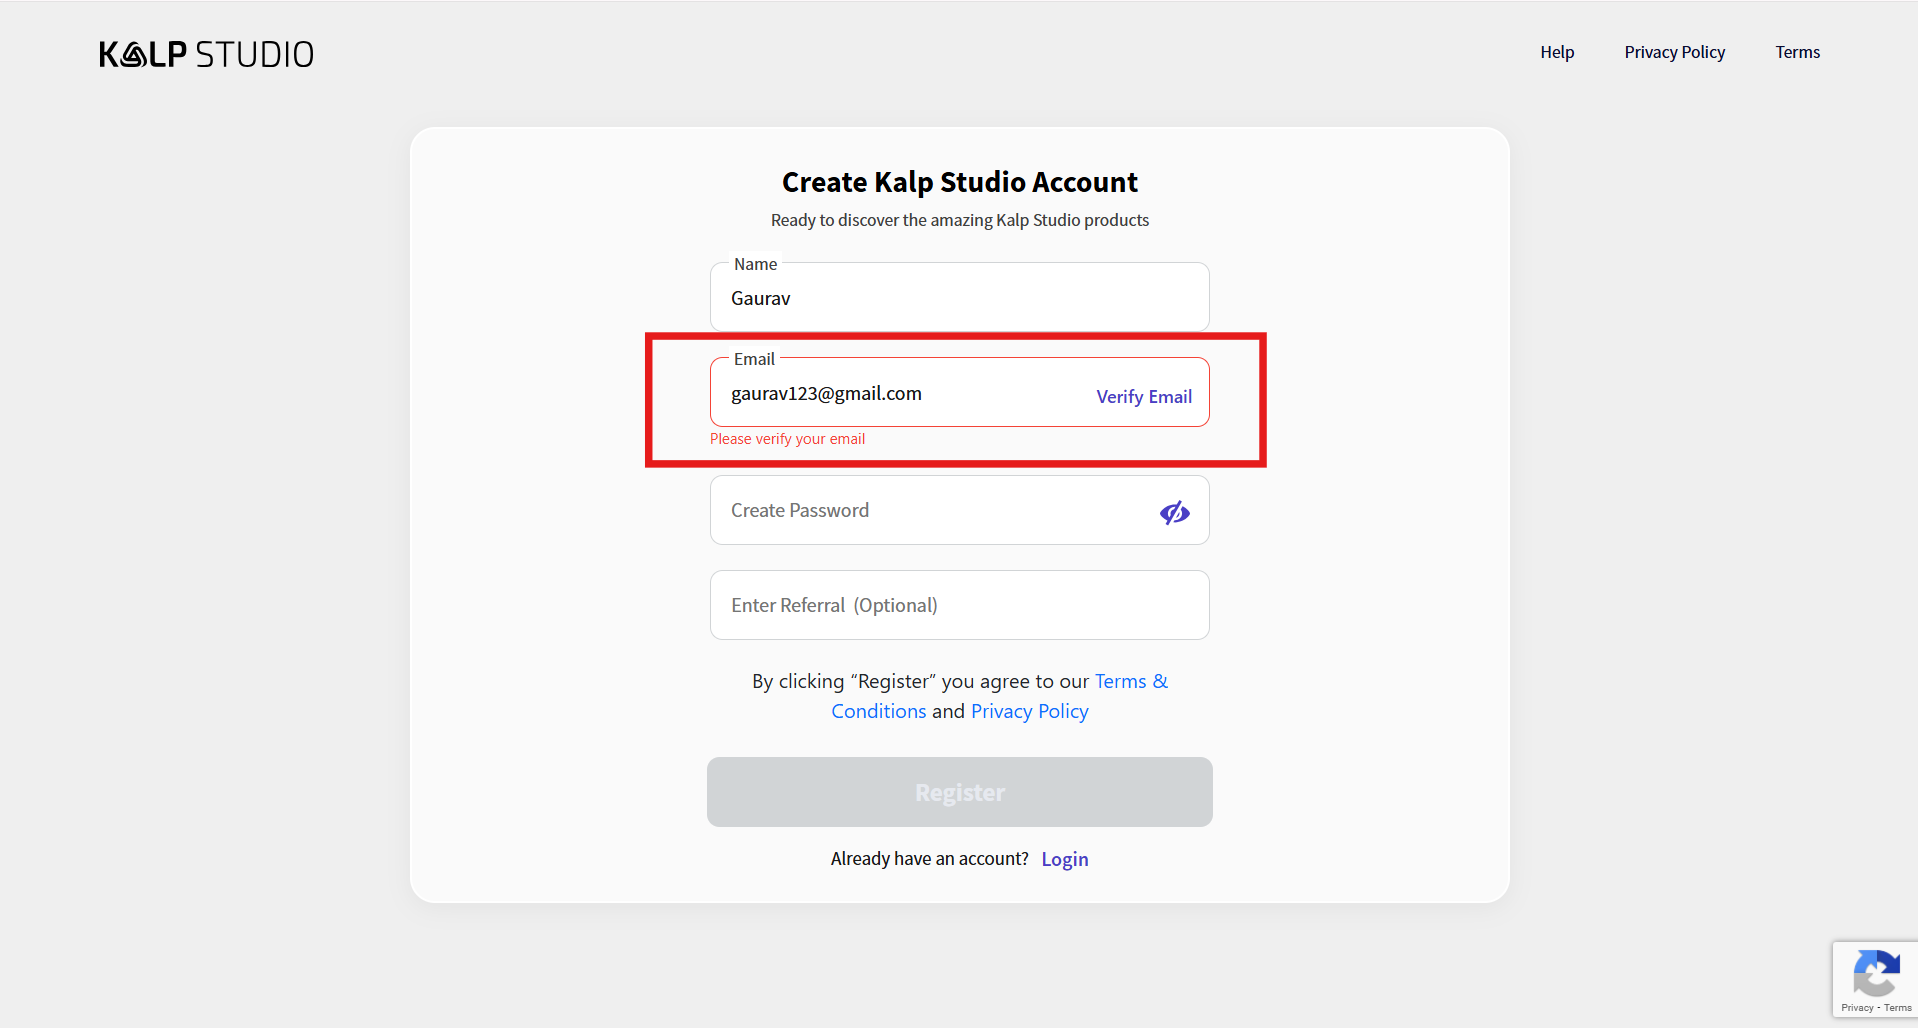
* After entering the email, users must click **“Verify Email”**.
A verification step is mandatory before proceeding further. Until the email is verified, account registration cannot be completed.
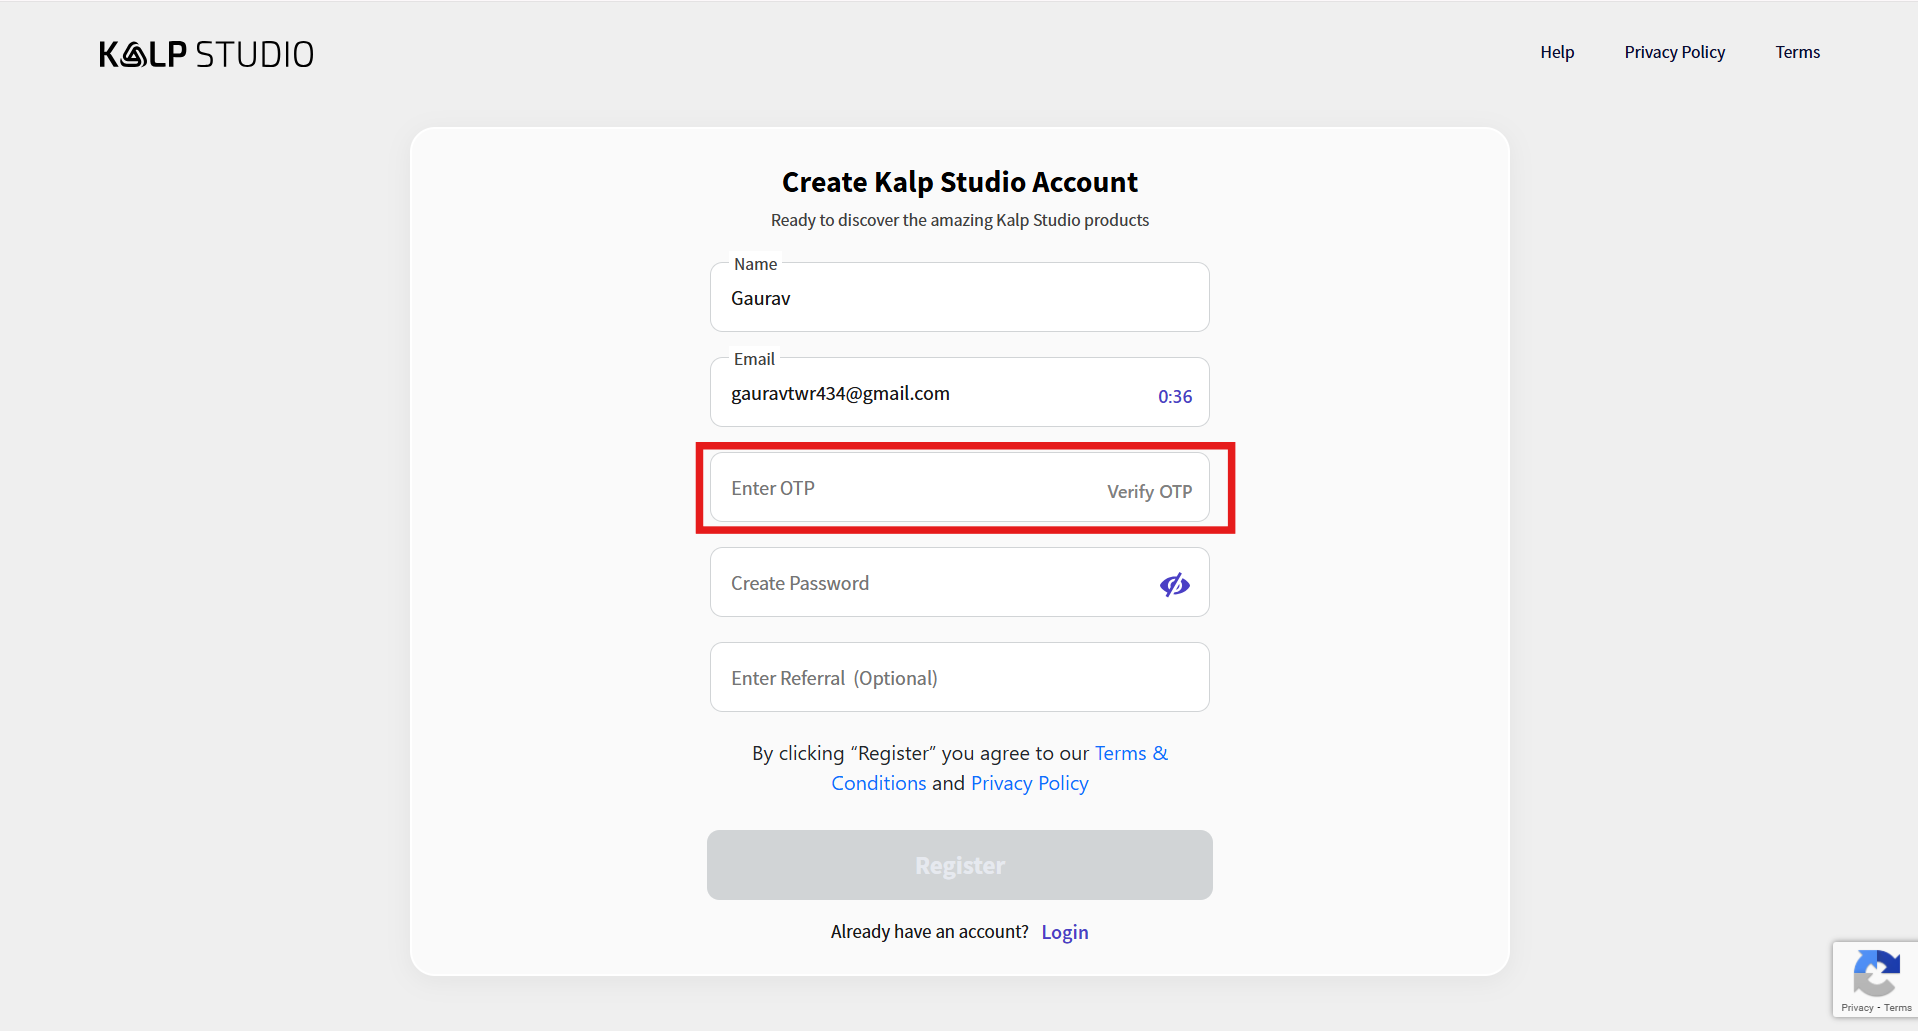
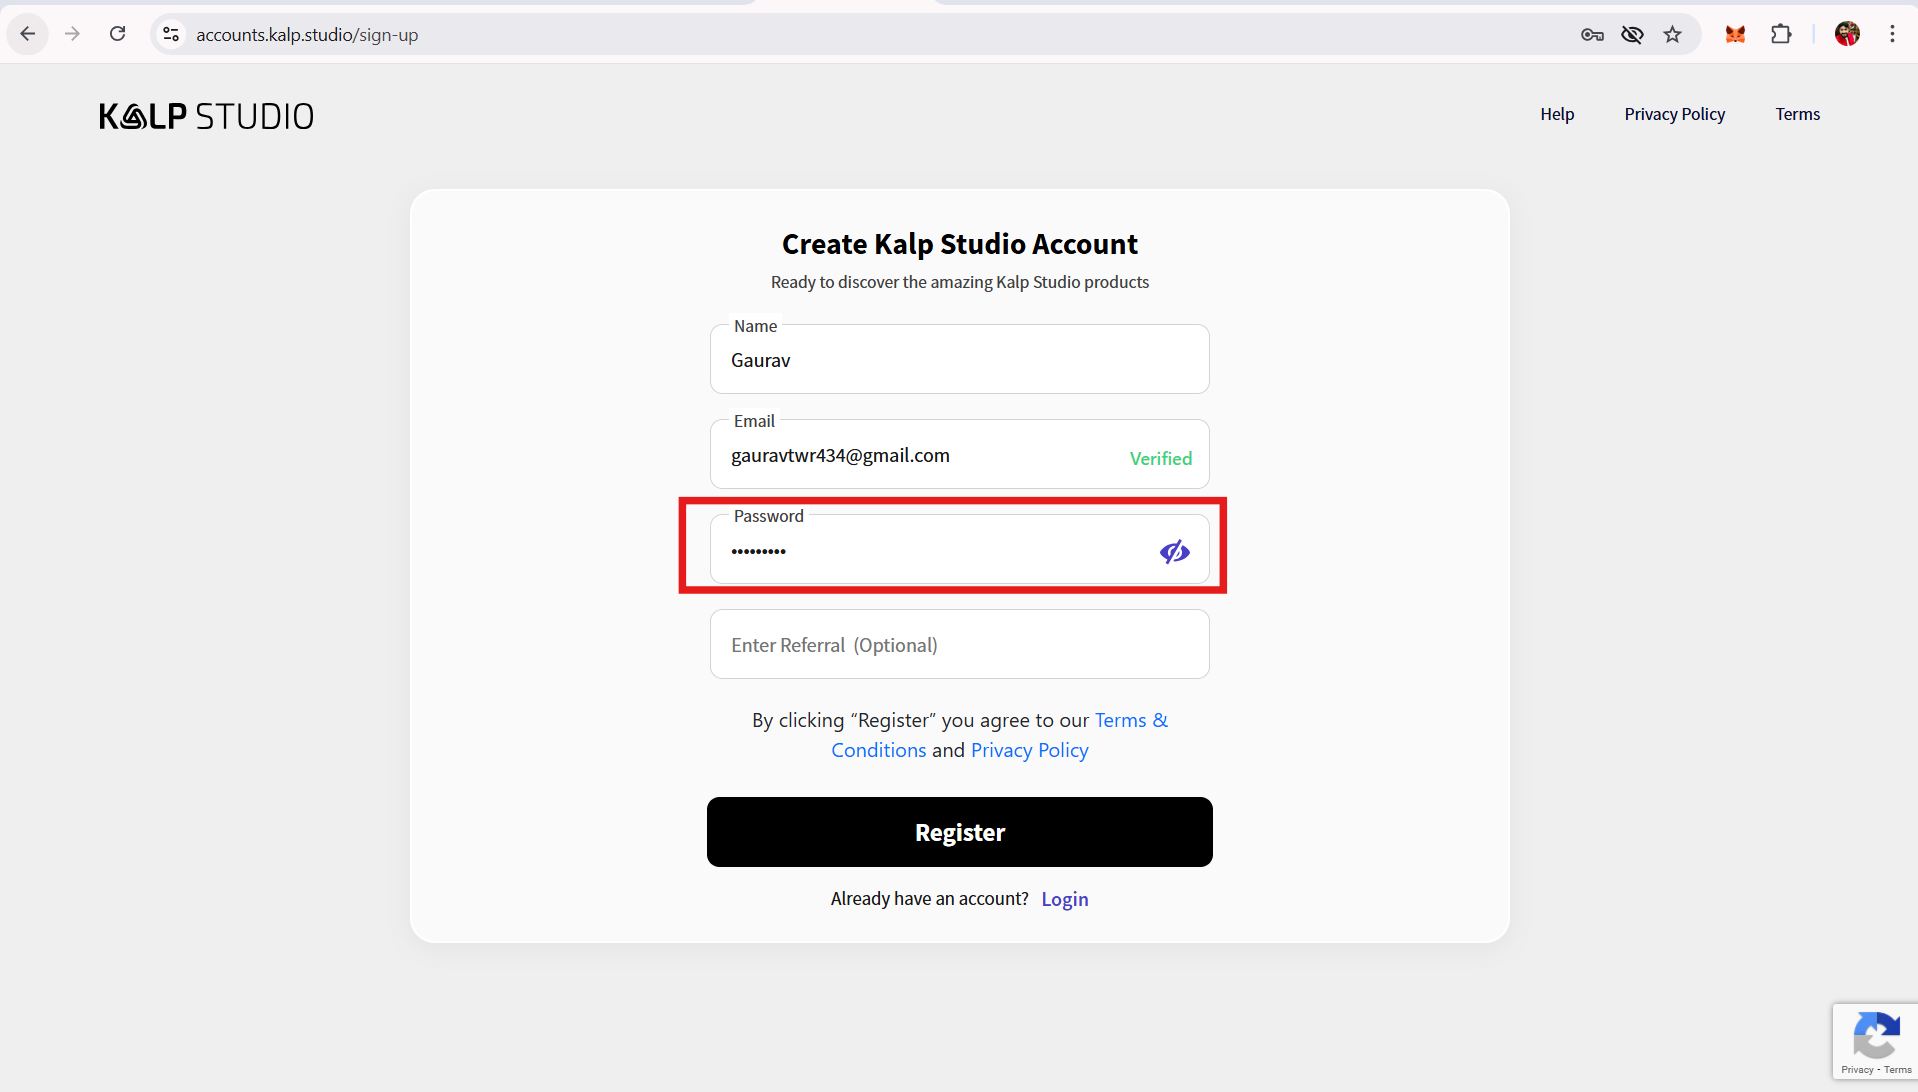
**Step-6:** Upon clicking **“Verify Email”**, the system sends a one-time password (OTP) to the registered email address for verification. After successful OTP verification, the **“Create Password”** field is enabled, allowing the user to set a password for the account. It will also shows that user's mail id is verified.
* **Create Password**\
Users must create a secure password for their account.
* The password field includes a visibility toggle to view or hide the entered password.
* **Referral Code (Optional)**\
Users may enter a referral code if they have one.
* This field is optional and can be left blank.
#### Terms & Privacy Acceptance
* By clicking **“Register”**, users confirm that they agree to Kalp Studio’s **Terms & Conditions** and **Privacy Policy**.
* Links to both documents are provided for review before account creation.
#### Register Button Behavior
* The **“Register”** button remains **disabled** until:
* All mandatory fields are completed
* The email address is successfully verified
* Once all requirements are met, the button becomes active, allowing the user to complete registration.
**Step-7: Final step**
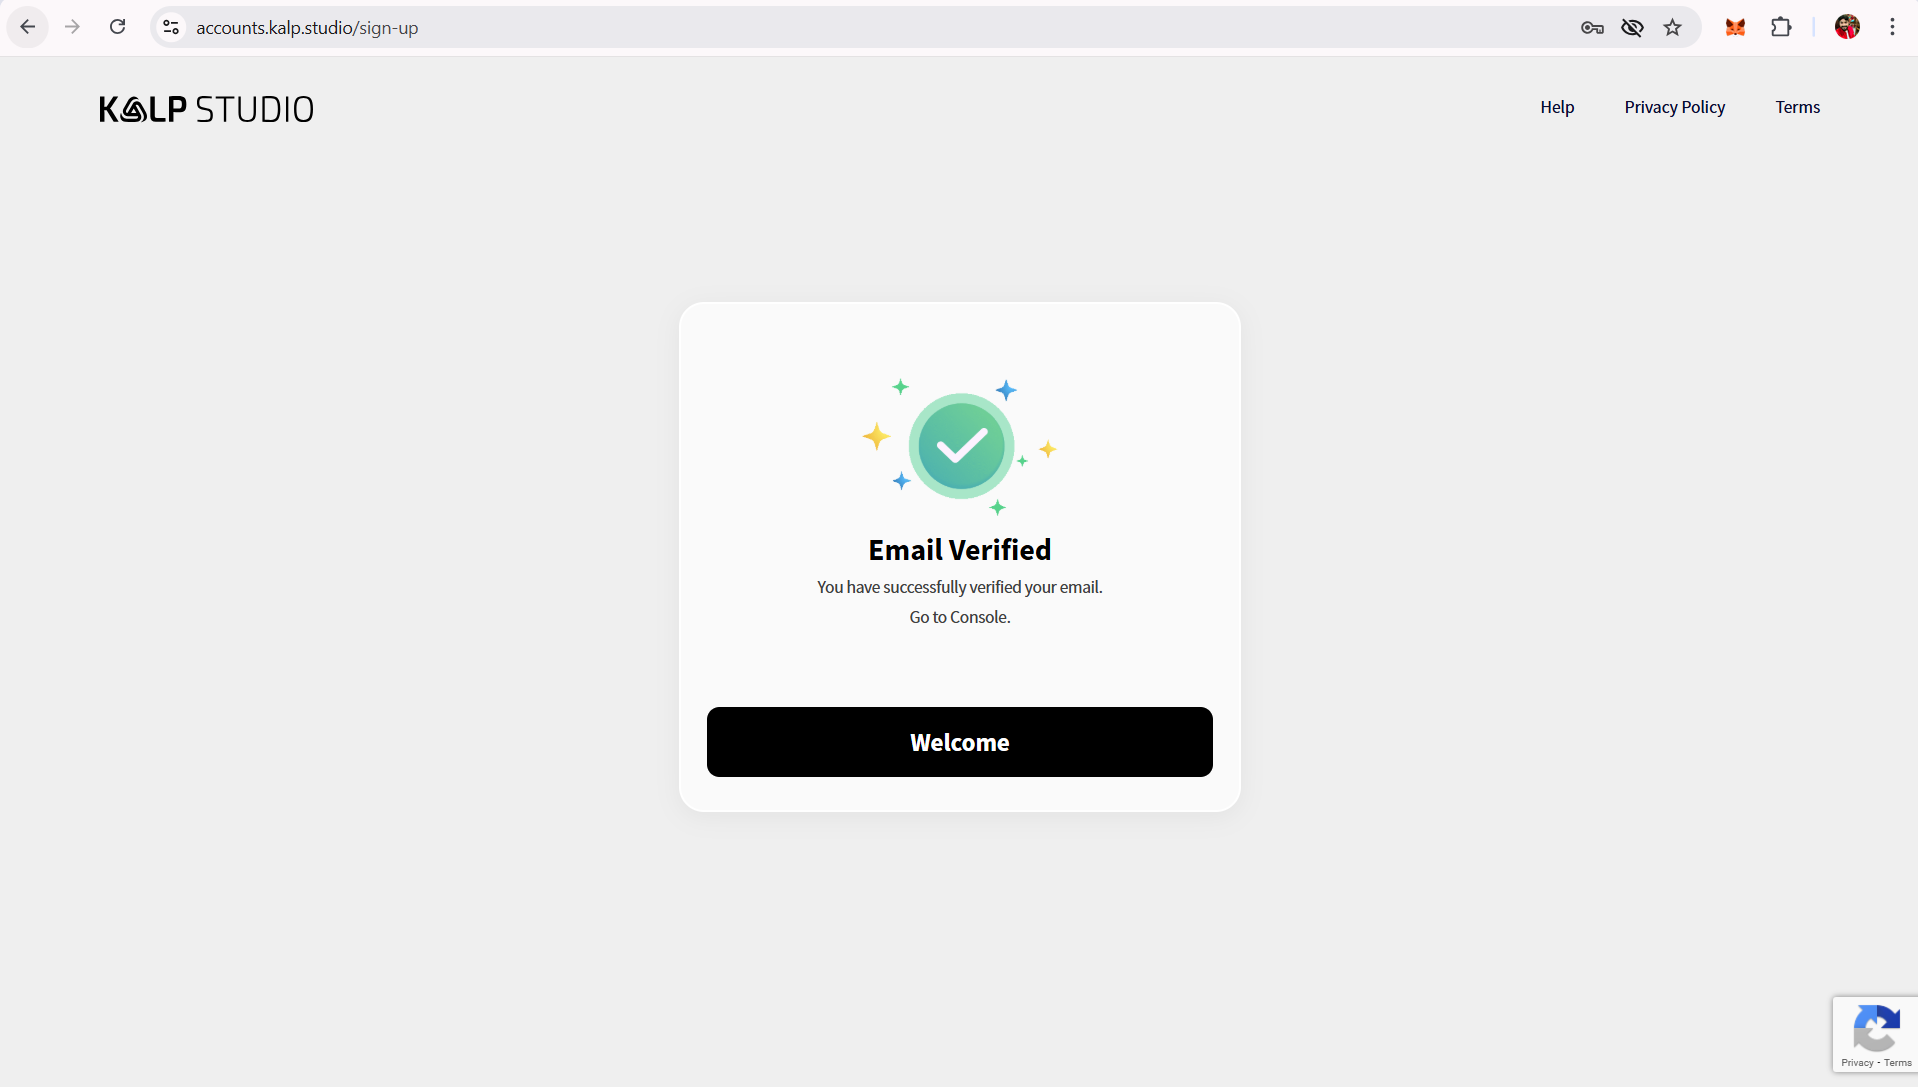
After clicking the “Register” button, the user completes the registration process and is redirected to a confirmation page. saying "Email Verified" and ask user to navigate to Kalp studio Console.
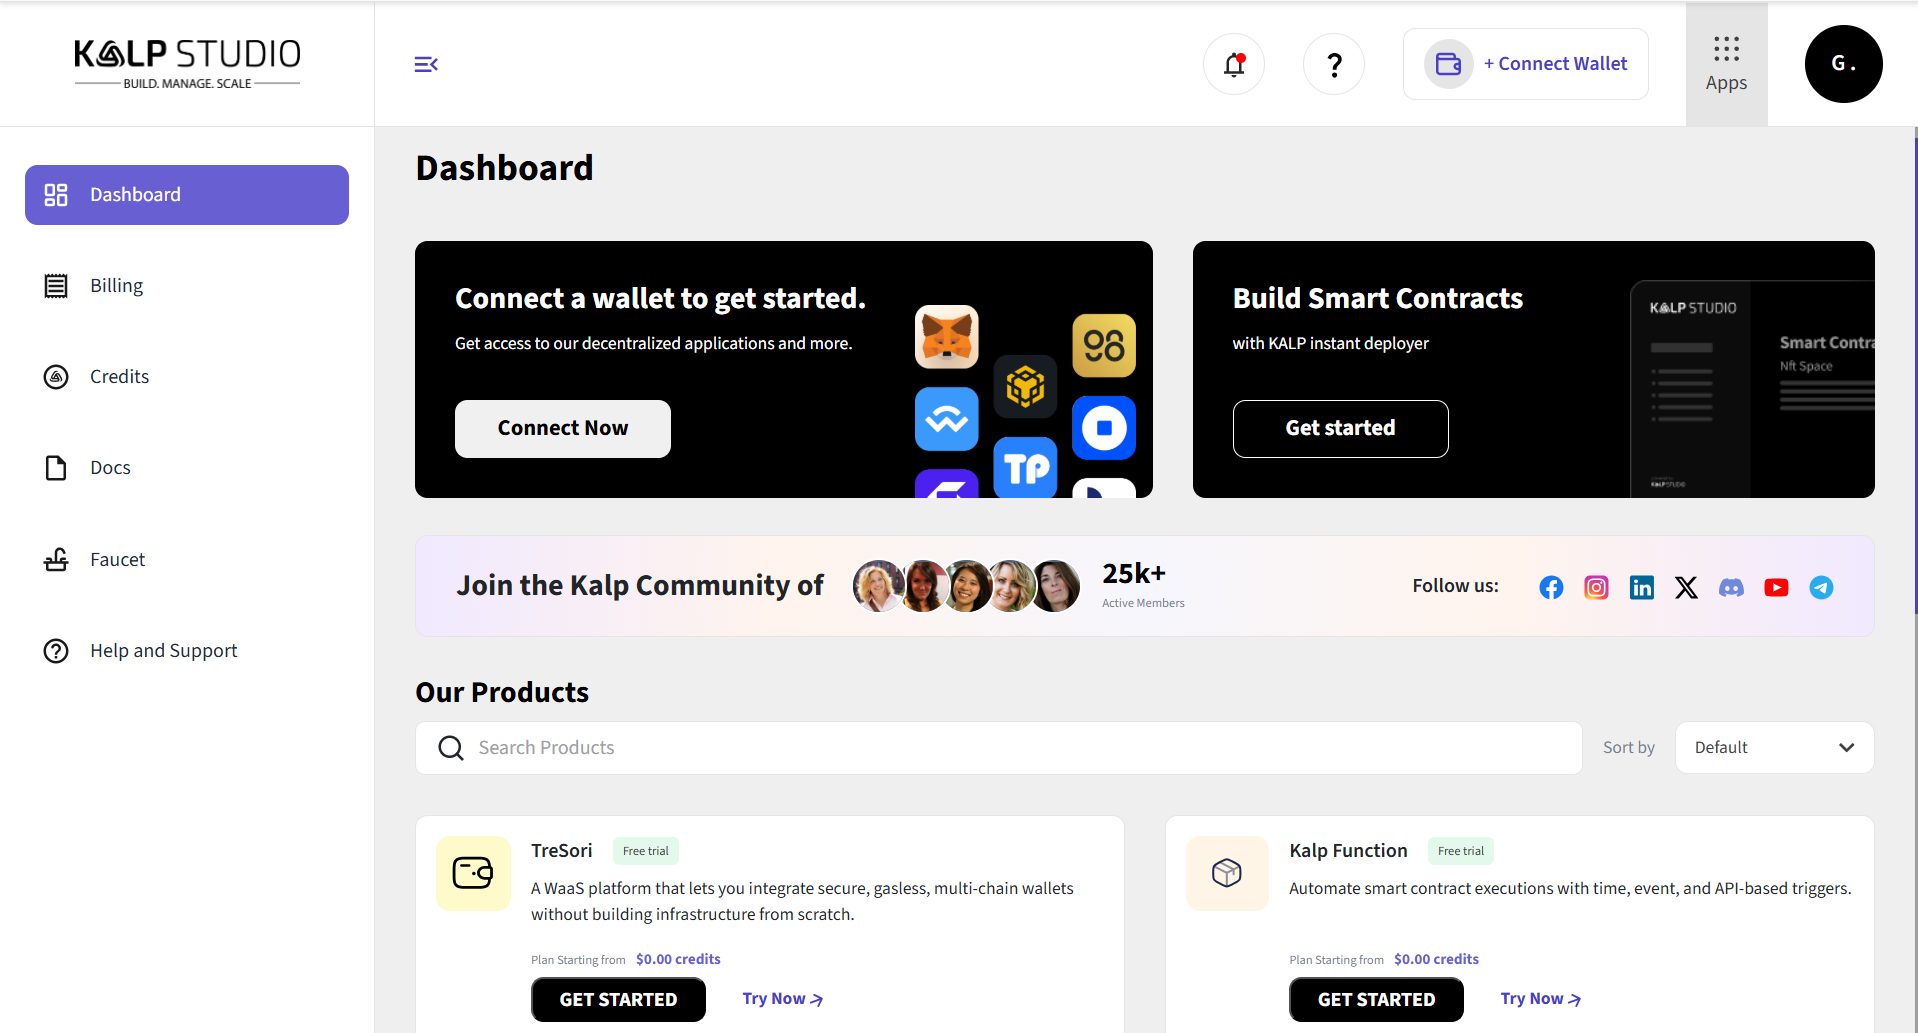
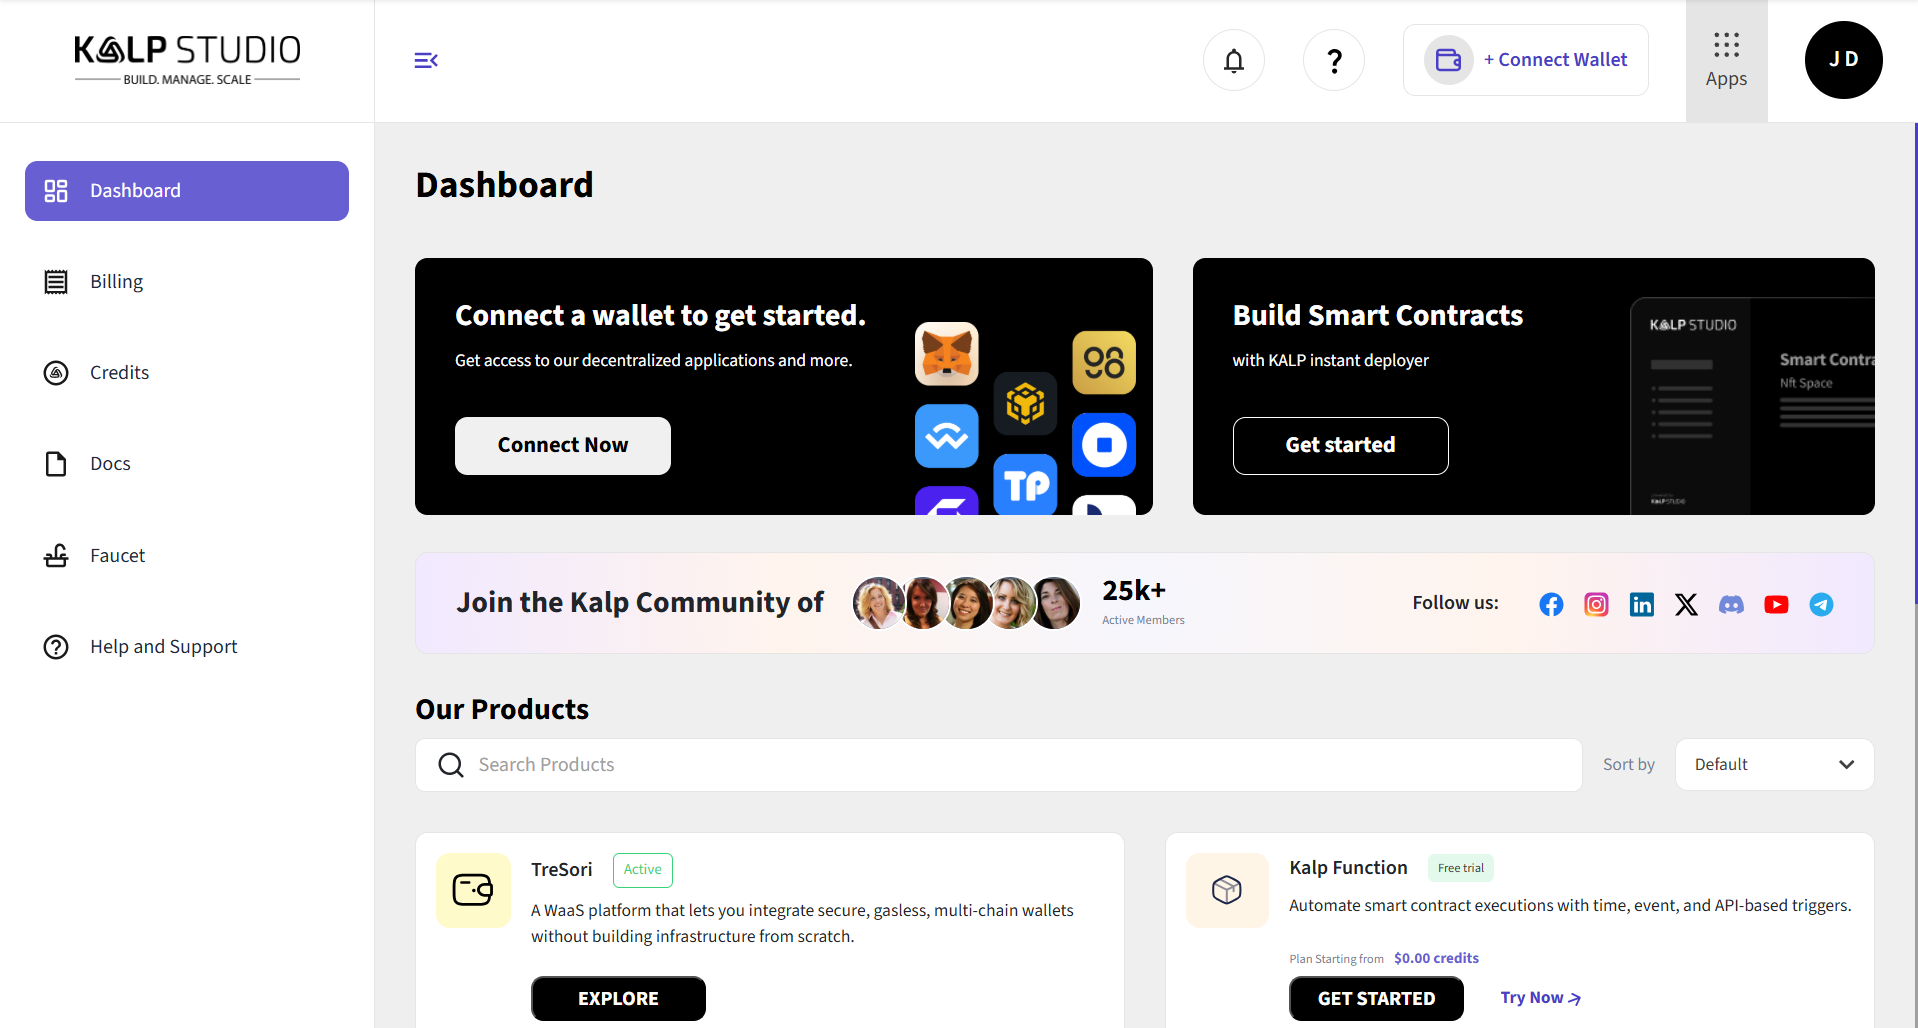
When the user clicks the “Welcome” button, they are redirected to the Kalp Studio Console Dashboard, where they can explore all available applications and services.
## Option-2: If user have Account on Kalp Studio Ecosystem
#### **case-1: If User is logged out**
**Step-1:** Click on
Once the user accesses the URL, they will land on the login page.
**Step-2:** After entering valid and correct credentials, users are redirected to the KalpStudio Console Dashboard, which serves as the central workspace for managing projects, connecting wallets, and exploring available products and services.
#### **case-2: If User is logged in**
Users will be directly land on the dashboard page.